Edin has some photography projects helping zoology researchers and one of these will be to photograph spiders at night in the bush. She chose a Sigma 105mm macro lens as one of her prizes in the Sigma D-Photo Amateur Photographer of the the Year so paired with the Nikon D700 had the lens and camera requirements covered. The dark environment will mean flash is essential so we have explored our options with this and done some practice runs with the spiders living in a garden trellis at night. As with everything photographic there are compromises that need to be resolved and one of the important ones working in the bush at night is to keep things simple, compact and light weight.
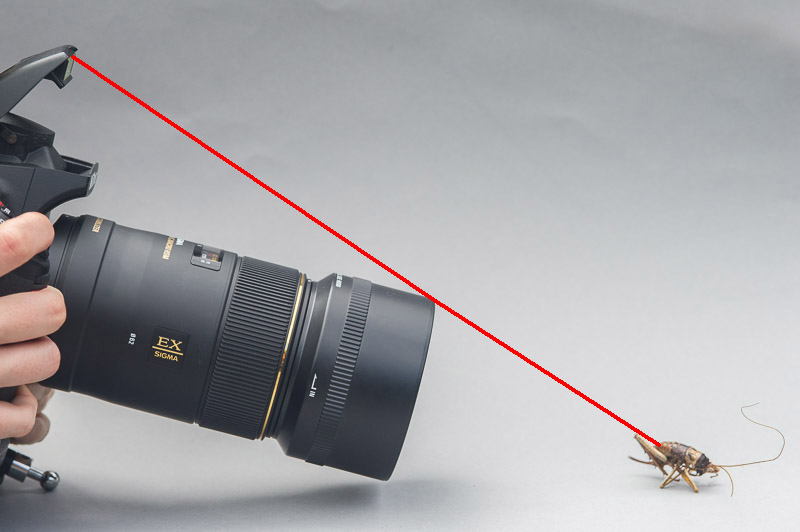
Simplest of all would be the built in flash on the D700 but this is a small light source which casts harsh shadows and when the subject is very close the lens shields the flash from the subject. Next option is to attach an external flash to the camera and for this we used a Nikon SB800 with it’s diffusion dome. This provided nicer light and accommodated closer subjects as the light was coming from further off the lens axis but this was a double edged sword as in confined spaces the subject could be in clear view of the lens but shaded from the flash. This could be addressed at times by rotating the camera to put the flash to one side or even using the camera upside down to get the flash below the lens axis.
Ring flash is the traditional method of lighting macro subjects with a soft light so we trialled the SB800 with an Orbis ring flash adapter which gave nice light but was very cumbersome, requiring one hand to operate the camera and one to hold the flash.
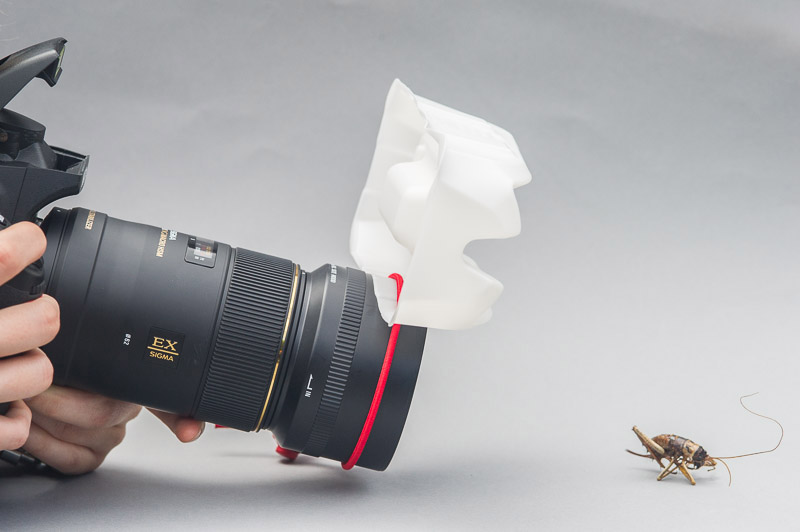
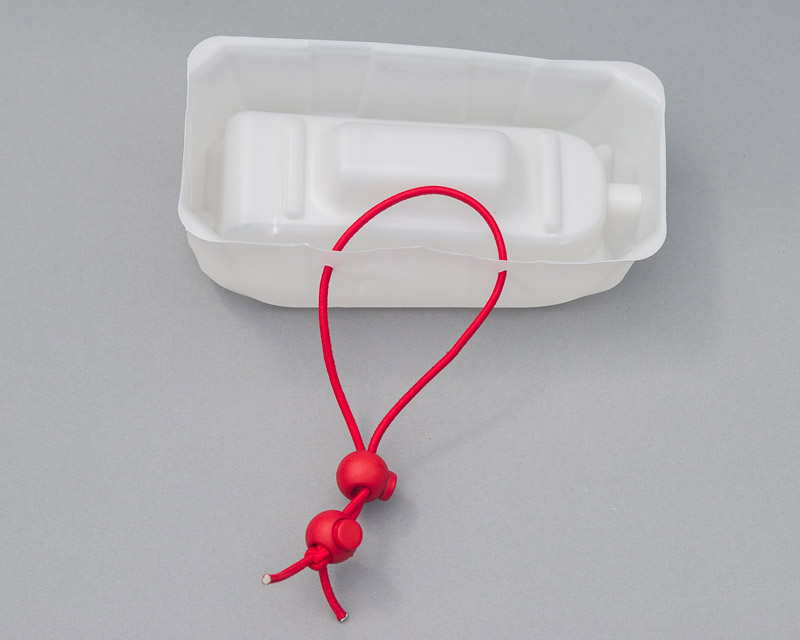
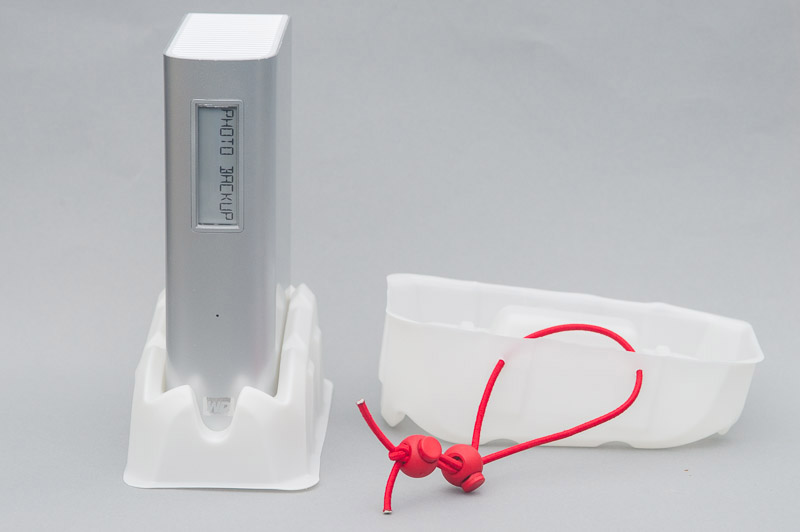
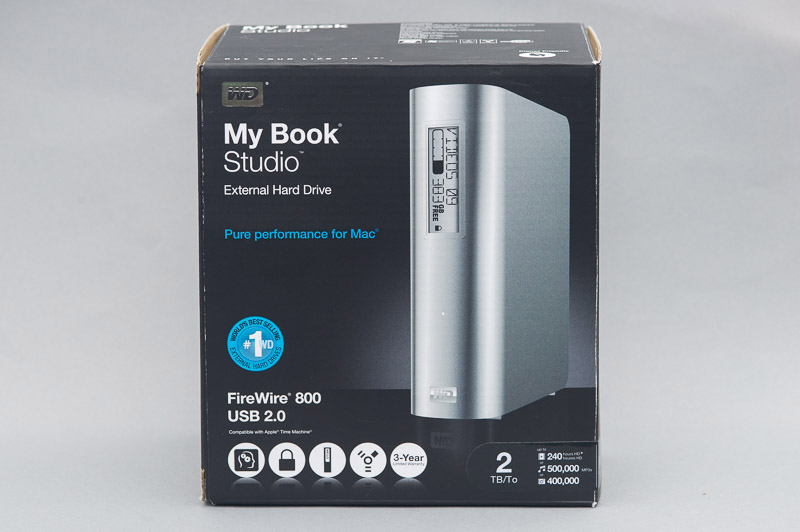
Thinking about the problem led me to wanting to try a translucent diffuser for the on-camera flash as this would retain the lightness and simplicity. For this to work as envisaged it would need to be mounted at the front of the lens in line with the on-camera flash so that it would create a larger light source closer to the subject. See my previous post on light source size and distance from the subject in terms of light quality. While scrounging around for a translucent sheet of plastic that I could use for a test, I remembered the packing around one of my back-up drives that I had recently updated. 2 quick holes with a hole punch and a short length on bungee cord soon had a jury-rigged diffuser attached to the lens hood an we were good to go with a test. The results with our cheap DIY macro flash diffuser were just what we were looking for. A light compact setup giving diffused light covering an area close to the lens. The price at $0 was pretty good too!
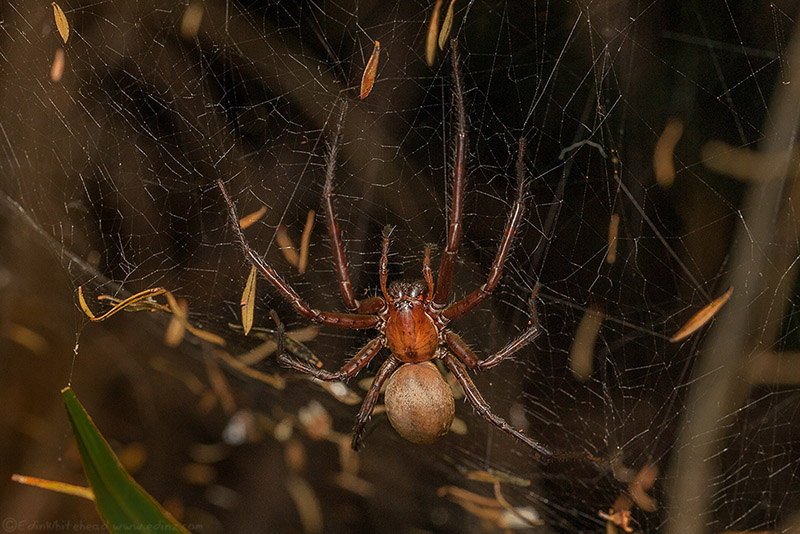
The final photo is one of the spider shots that Edin got using the diffuser at night. See Edin’z blog post for her account and more photos. For more info on the Sheetweb Spider research see Leilani Walker’s website. Te Papa’s Sheetweb Spider page has more info and links to information on other New Zealand Spiders.
Pingback: Sheet-web Spiders
Pingback: Dá se fotit makro s vestavěným bleskem? | Tomáš Neugebauer