In a previous post I covered clothing and luggage for an Antarctica photography expedition. This time we will cover photography gear. It is always a challenge when travelling to decide on what to take so that opportunities aren’t missed while not carrying anything unnecessary. This is especially difficult when heading to a destination that you have never been to before. At the New Zealand Geographic Photographer of the Year awards we had spoken with Chris McClennan and asked his advice as he has plenty of Arctic experience. His advice was to “take everything” from 14-24 f2.8 up to 400 f2.8 and 600 f4 (in my case 200-400 f4 and 500 f4). This option was not possible for us especially as he had said that he had recently paid more in excess baggage charges than our entire flights for 2 from NZ to Ushuaia had cost! Those who have followed my blog over the past few months will have seen a couple of gear reviews and a summary of what I decided was a compact travel set-up based on a Nikon full-frame DSLR which was the basis of what I took. The list comprised;
- Nikon D810 with battery grip
- Nikon D3s
- Nikon D70s infrared converted with 18-70mm lens
- Nikon 200-400 f4 VR
- Nikon 80-400 f4.5-5.6 VR
- Nikon 24-120 f4 VR
- Nikon 18-36 f3.5-4.5
- Fuji X100s
- GoPro Hero4 Silver
- Benro C1190T carbon fibre travel tripod with Giottos ball head
- Gitzo basalt monopod
The 80-400 and 200-400 duplicate a number of focal lengths but to cover up to 400mm on full frame bodies for both of us we needed both lenses. If travelling alone, I would probably opt for the 80-400 as the range is nice but the extra stop of light the 200-400 gathers is useful at times. I had been tempted to add in the 70-200 f2.8 but if I had taken it I doubt that I would have used it.
In addition Edin’s kit included;
- Nikon D700 with battery grip
- Nikon D300 with battery grip
- Nikon 70-300 f4-5.6 VR
- Nikon 18-200 f3.5-5.6 VR
- Nikon 12-24 f4
- Fuji X100
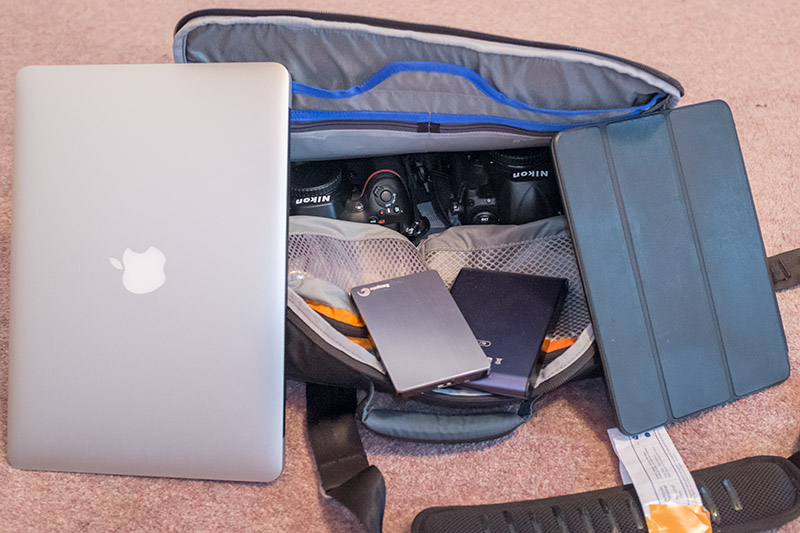
To complete our kit we needed a computer to download and back up images and for this took a 13″ MacBook Air with three 1 TB external drives and a Lexar USB3 card reader. 2 iPads and 2 iPhones along with all the necessary chargers and adapters completed the technology that needed to go.
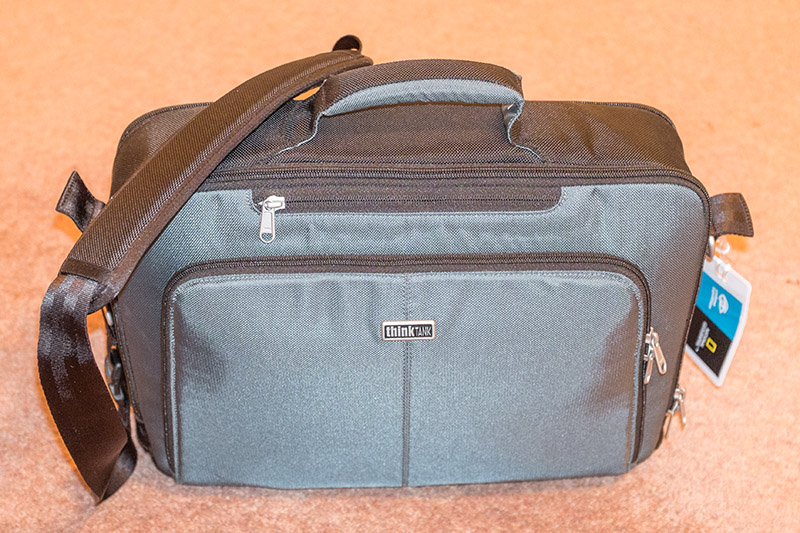
The first challenge with photo gear is how to get it all on the plane as hand luggage as no photographer that I know is happy to risk their gear to airline baggage handlers. Flying LAN Chile (code shared with Qantas) we were allowed one 7kg item of hand luggage and one “personal item” such as a laptop bag (weight unspecified). My Gura Gear Bataflae 28l with 200-400, 24-120, 28-35 and chargers made the 7kg weight limit as did Edin’s LowePro DryZone Rover with 80-400, 70-300, 18-200, 12-24 lenses and GoPro. we both carried a Think Tank My 2nd Brain 15″ laptop bag with 2 DSLR bodies, iPad and the MacBook Air with chargers. The Infrared D70s was risked to checked luggage inside it’s custom foam-lined Pelican style case surrounded by clothing cells in our Buenos Aires barrel bag.
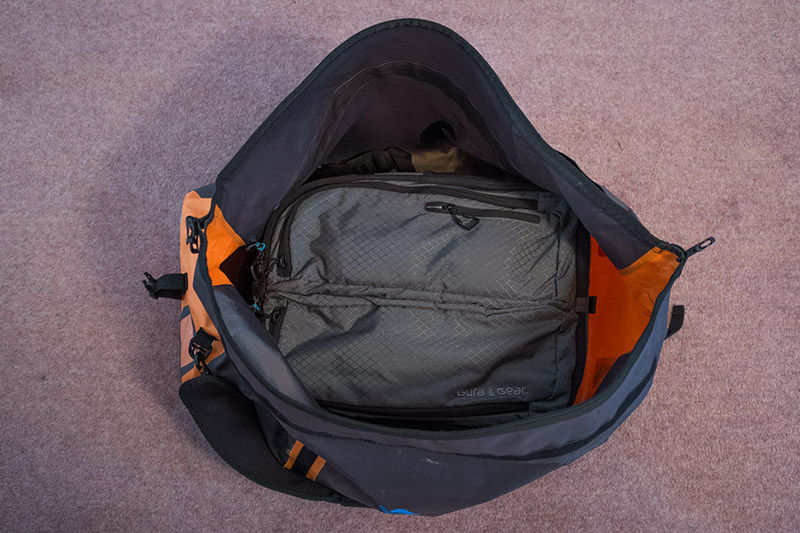
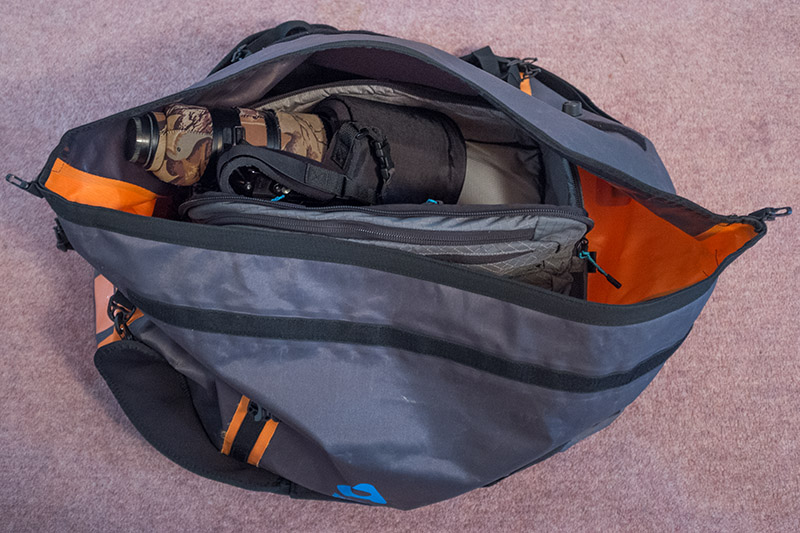
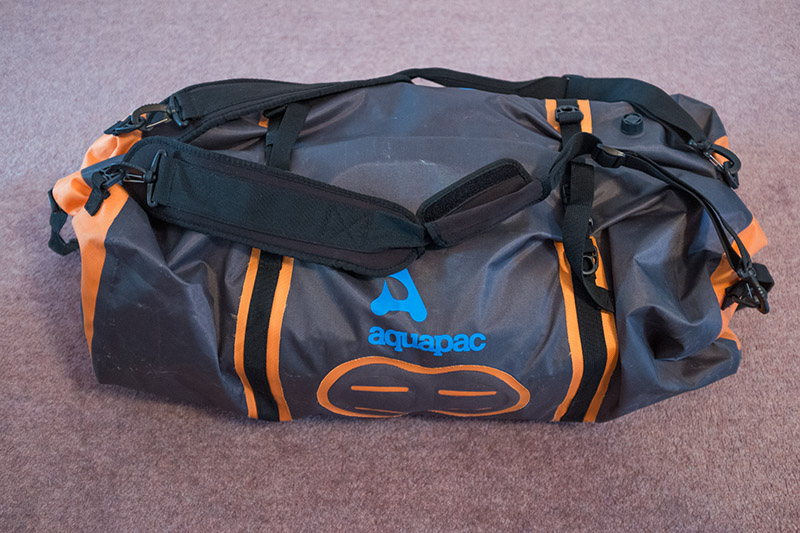
A Dry Bag of some description is essential for protecting your gear while on the Zodiacs between ship and shore. The LowePro DryZone Rover that Edin used has a waterproof compartment that accommodated lenses up to the 80-400. I needed something that would take my whole loaded Bataflae and a duffel-style dry bag is much more practical than a top loading backpack style bag. The Bataflae can be accessed while still in the duffel and the open bag shielded from snow or rain by leaning over it. The AquaPac bag that I have can be carried as a duffel or worn as a backpack so is very versatile. The air purge valve makes if quick and easy to load and seal.
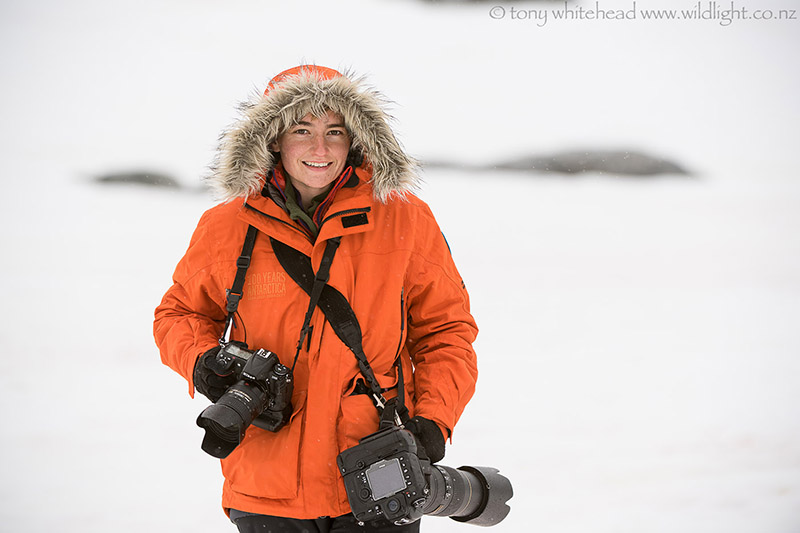
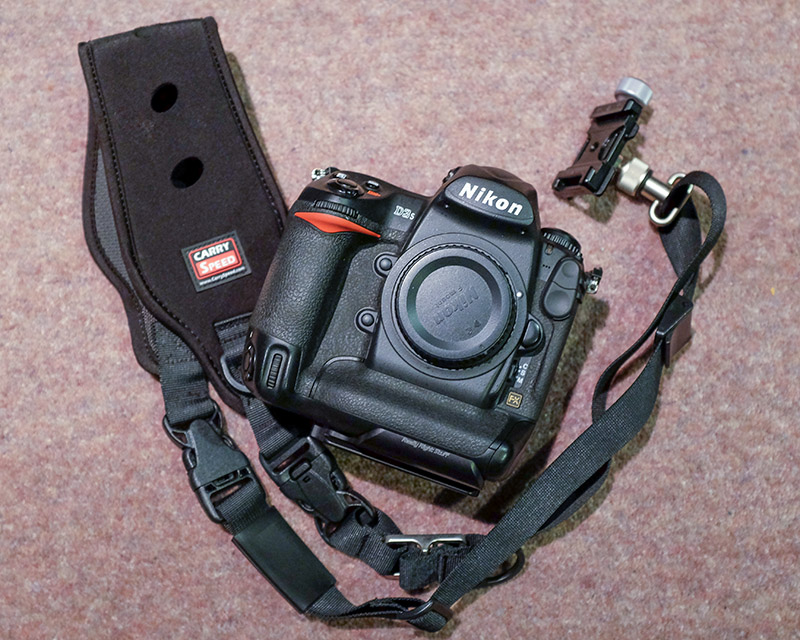
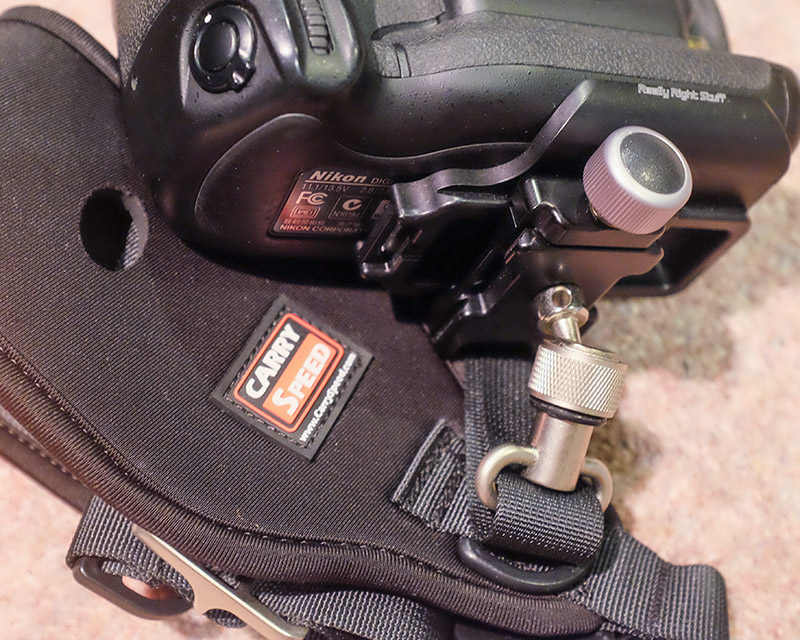
Straps. With the 200-400 I usually use an OpTech neoprene neck strap but carry the lens/camera combo in the crook of my right arm where it is easy to carry and immediately accessible to use. I seldom carry another body apart from my Fuji X100s but in Antarctica I wanted another SLR body with either the 24-120 or 18-35 to cover the wider angle options. For this I found a Carry Speed FS-Pro ideal and had set this up by replacing the included plate with a Really Right Stuff B2-FABN quick release clamp to easily attach to a RRS dovetail camera plate or lens foot . This wide strap even copes well with the 200-400 and I find it a lot better than the Black Rapid that I have used previously as it has the stretch of neoprene and the length is quickly adjustable. This setup was very quick to deploy and pack at a landing so we could maximise photography time at each landing site.
Filters. I seldom use filters apart from a neutral density to achieve very long exposures but decided to uses some protective filters due to the risk of sea-spray, rain and snow. I found that the water and dust repellant coating of the Hoya HD UV filters was excellent and worked far better than I had expected. I took polarising and ND filters but didn’t use either.
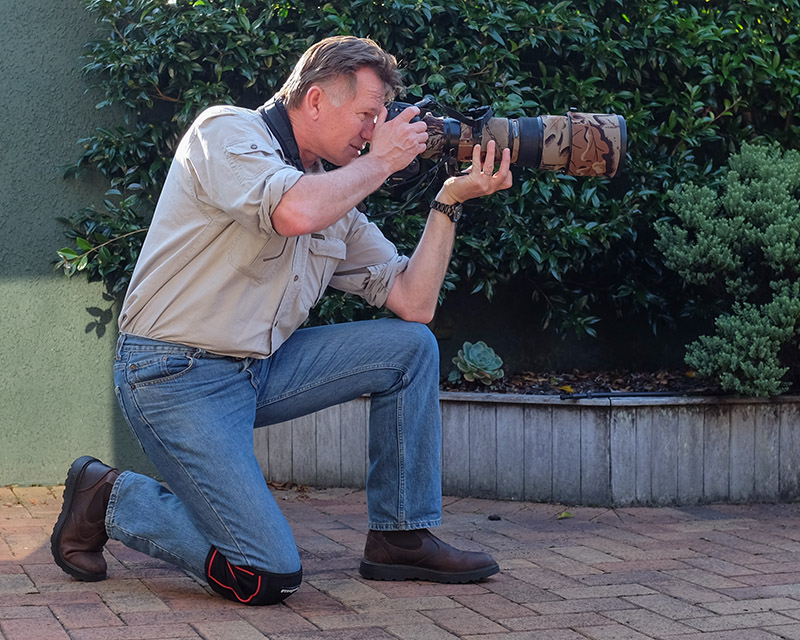
Knee pads are a really useful accessory to pack that are not often considered. The National Geographic photographer on the trip, Kent Kobersteen, mentioned them in his initial photography session en route to Antarctica but if you haven’t brought them with it is too late at that stage. I have some gel knee pads that I bought from a hardware store and found them to be excellent as they are soft and easy to hike in as well as spreading the load when kneeling on a rock. It is difficult to find a guano-free patch in many of the penguin rookeries and the rocky terrain can be painful to kneel on unprotected. I find that I only use one on my right knee as I kneel on that side and then rest my lens in my left hand and brace that on my left knee to create a solid support for my lens. One pair of knees pads thus was sufficient for both Edin and I. When using a long lens for mainly sedentary birds I often use a monopod but for birds in flight work handheld. In Antarctica we were faced with sedentary penguins one minute and flying skuas and petrels the next so it was more convenient to dispense with the monopod. Due to the terrain and abundance of birds you don’t usually have to be flat on the ground to get a nice low angle on a subject.
Tripod and Monopod were not used at all so I would not bother to take the monopod if going again. I would probably still take the tripod as I can imagine there would be times that it would be useful but we just didn’t encounter any. My main priority is birds with landscapes second. If you are more landscape oriented a tripod would see more use.
Pingback: Antarctica Master Post