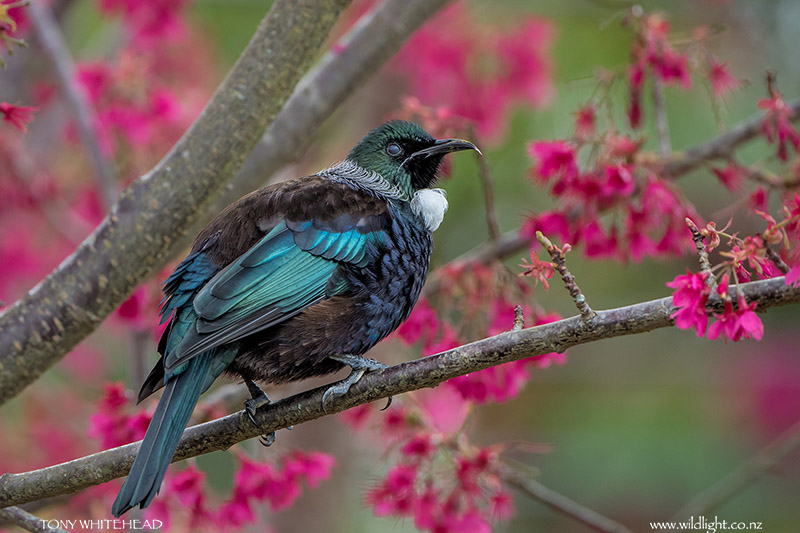
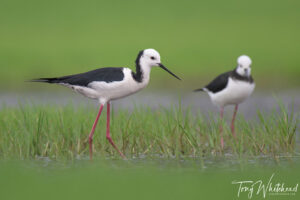
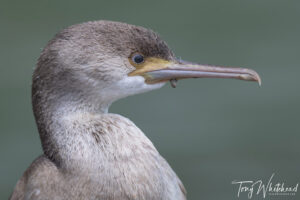
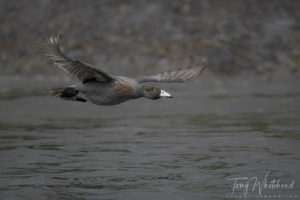
In last week’s post I wrote of the importance of taking a number of shots to minimise the risk of catching the nictitating membrane over the eye of a bird. If your one and only decent shot catches the membrane in place all in not lost as avian eye surgery in Photoshop can salvage the situation. While not quite as clean as an image made with a clear eye the result can be quite acceptable and go unnoticed by most viewers.
My workflow is to make a selection around the eye and then move the selection (Crtl/Cmd J) to a new layer. A Brightness/Contrast adjustment to that layer reducing brightness and increasing contrast brings back the dark areas and dims the diffuse highlight. I then create a layer mask and paint in black around the edges with a small brush to refine the adjustment to only the cornea of the eye leaving the eyelids and surrounding feathers unaffected. At high magnification I paint an tiny soft edged dot over the brightest part of the catchlight to allow it to shine through. This usually conceals the zombie eye adequately to salvage the image.


Some additional fine tuning can be done by burning in the dark areas if needed. I use Tony Kuypers excellent panel (TKActions V5/V6) which with one click creates a burn (or dodge) layer that you can paint on with black to burn or white to dodge. I usually use a soft brush with opacity of 8 and build up the effect gradually. Being on a separate layer you can again mask this effect.
It is simple to make your own non -destructive burn/dodge layer and save a Photoshop action for this. With your image open go to the Actions palette and click on “Create new Action” and name it Dodge/Burn. Next click “Record”. This will record all your subsequent keystrokes into the action while indicating this by showing a red dot at the bottom of the Actions palette. Go to the menu bar, choose, Layer/New/Layer. In the dialogue box name your new layer “Dodge/Burn”, choose blending mode “Soft Light” and check the box to fill the layer with Soft Light neutral colour (50% grey). Go back to the bottom of the Actions palette and click the small square button to the left of the red dot to stop the recording. You should now have an Action named Dodge/Burn and clicking the play button will automatically create a 50% grey layer that you can paint on with a black brush to burn or a white brush to dodge. Using the keyboard shortcut “D” set the brush colours to default (Black foreground, White background) and “X” switches them to White foreground and Black background. Using the Square Bracket keys to easily adjust brush size allows quick and easy dodging and burning.


