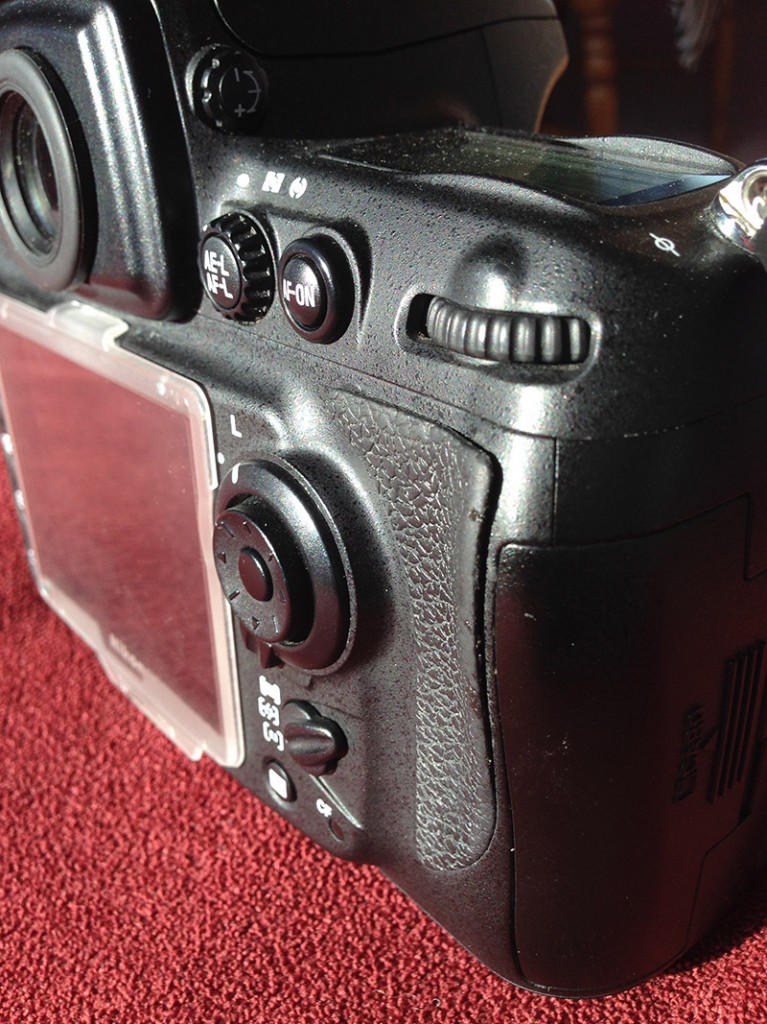
My Nikon D700 remains my all time favourite DSLR. It was a real game changer with the amazing high ISO performance of the D3 at a very affordable price and was my workhorse for a number of years as using it with the battery grip and D3 battery gave a frame rate of 8fps which was great for birds and wildlife. It did a number of Africa trips and, despite being fastidious with my gear, the rubber thumb grip started to swell and lift due to sweat absorption and regular movement over it while using the thumbwheel for exposure adjustment. It bugged me to the point that I ordered a replacement for a few dollars via eBay but didn’t get round to fitting it as I had started using a D3s for its 1 stop ISO advantage and the D700 was relegated to back-up body. I have continued to use it intermittently (last time was with the 50mm f1.8 for the Jane Goodall evening mentioned in my previous post as I wanted high ISO and the small size without the battery grip) and Edin is planning to use it for some lens testing so, having some leave to catch up on odd jobs, I decided today to replace the rubber grip. As it happened the 10 minutes while waiting for Paul’s install of a Linux virtual machine under VMWare was all it took to complete the job. Who says boys can’t multitask!
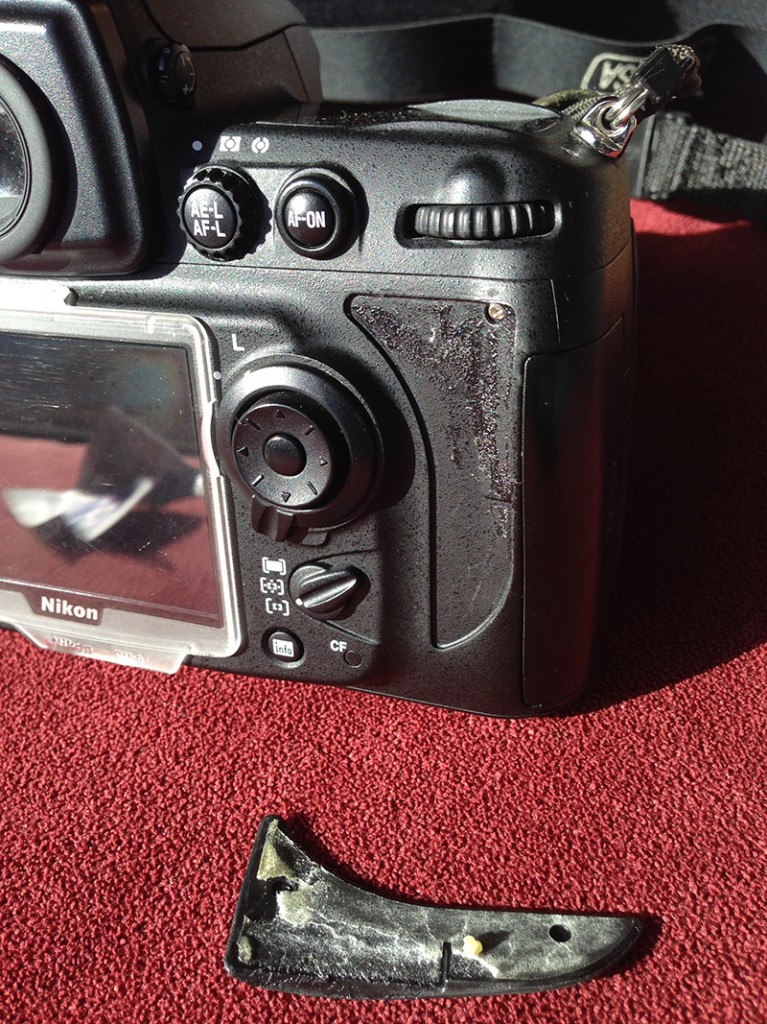
First step was to remove the old grip which was lifting from the side and top.

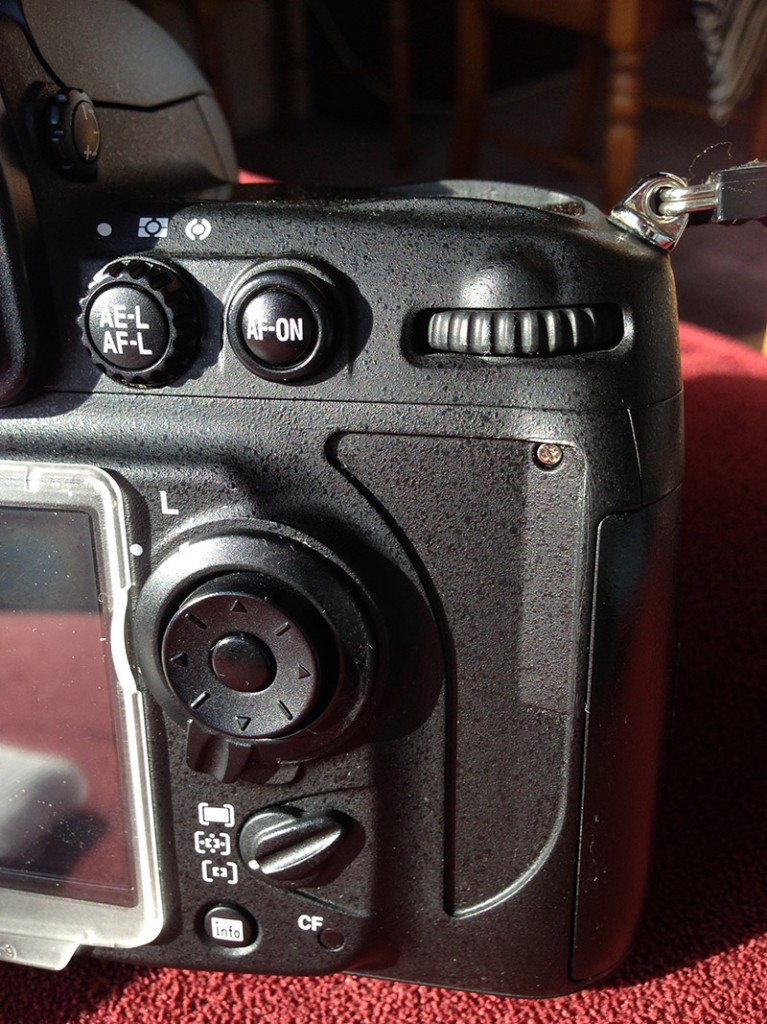
The left over adhesive needed to be completely removed and was quite tenacious. An alcohol swab and a dry swab were no use but a small amount of acetone on a swab did the job efficiently without damaging any finish. A cotton bud is a useful way of doing this to keep to the small area required. A final polish with a dry swab left the area clean, dry and grease free.


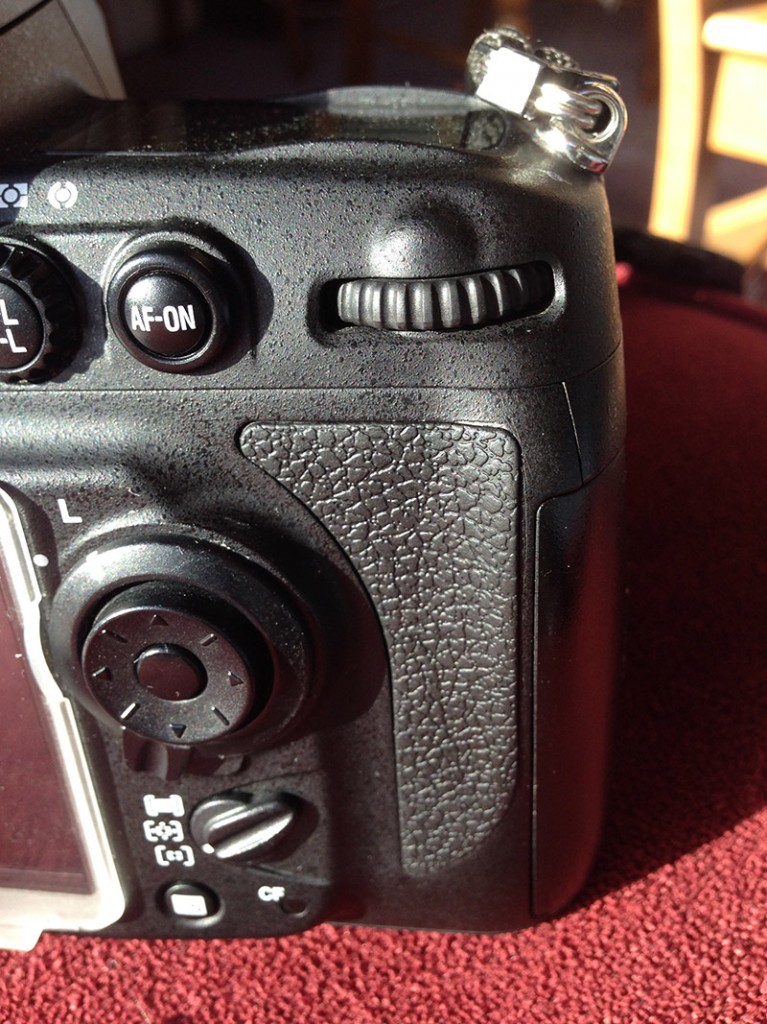
It was then a simple matter of peeling the backing from the adhesive on the new grip, lining it up carefully and pressing firmly into place.

All the pictures in this post were taken with an iPhone 5. Quick and easy and perfect for this type of picture.


Edin
6 Aug 2014Looks great!