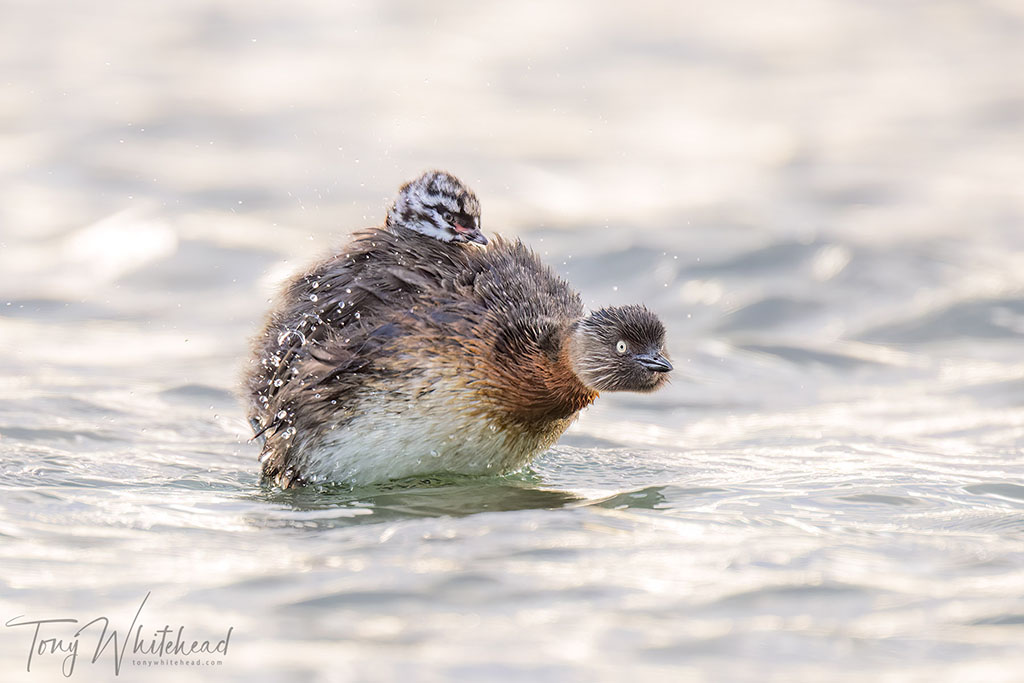
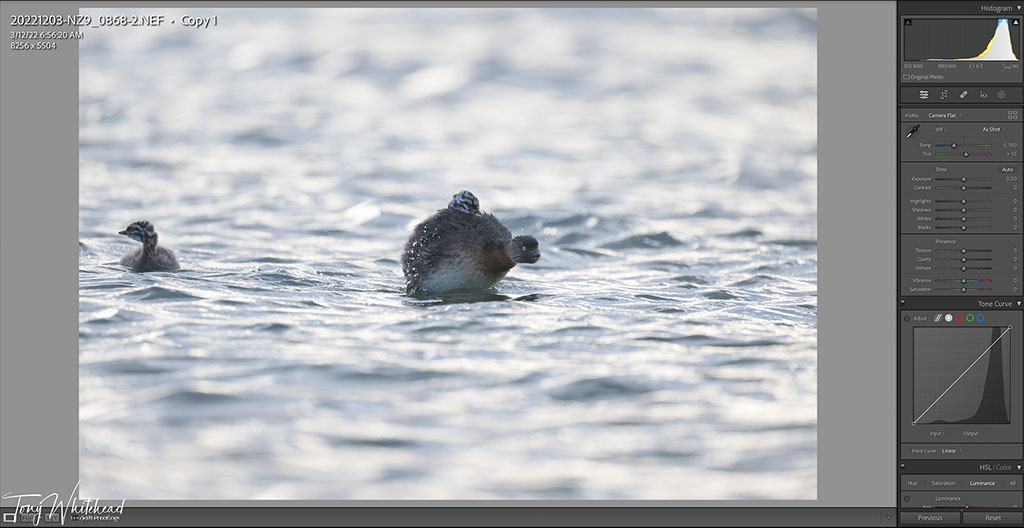
The above image of a NZ Dabchick/Weweia with a chick riding its back is quite appealing and engaging but where did it start? Lighting was challenging. Just after dawn, looking toward toward the eastern horizon with the warm sun obscured by a layer of cloud meant the birds were backlit by warm but low intensity light. My main aim after getting the exposure correct (ISO 1600 gave 1/1000s to freeze motion adequately) was to get as low as possible to isolate the subject. I shoot a flat profile with auto white balance which gives a rather unimpressive file but my aim is to get a good histogram to start with – exposing to the right but not clipping. This next image is the unprocessed flat file as imported into Lightroom. Histogram touching the right edge so no blown pixels. If there had been direct light with specular highlights I would have expected some blown pixels and a little vertical line at the right edge of the histogram. Not an image to get too excited about at this stage!
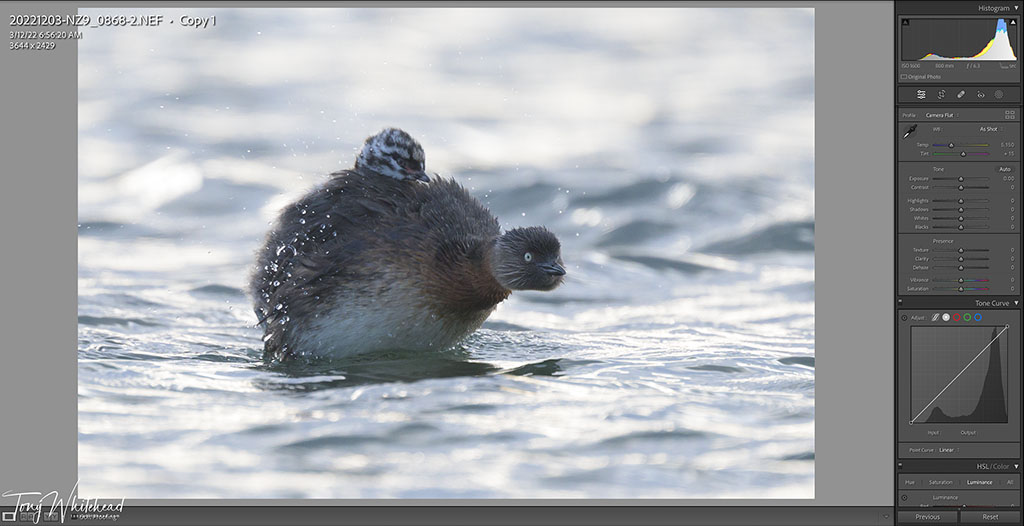
Next step is to crop a pleasing composition from the file.
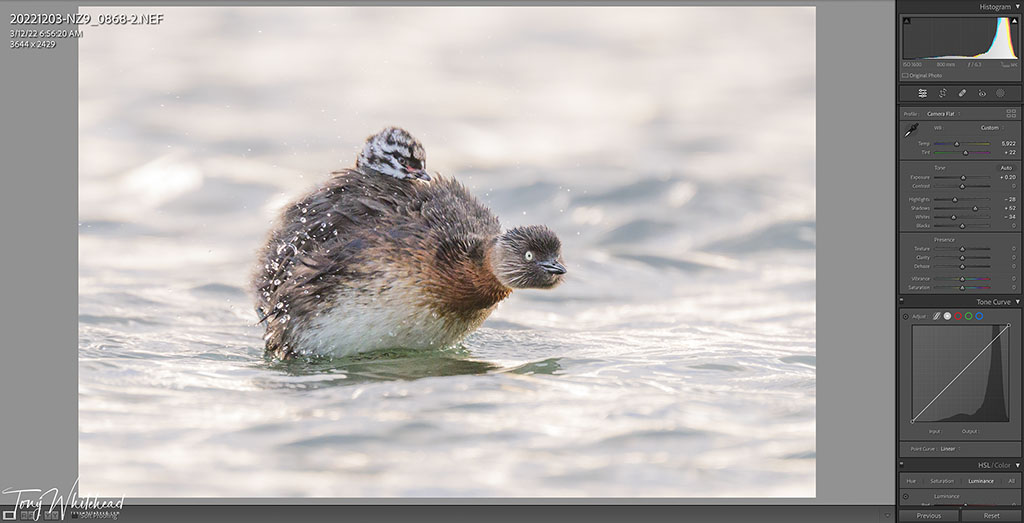
Now the fun begins with some global and some selective exposure, contrast and colour temperature adjustments.
Finally the image output from Lightroom via DxO PureRAW into Photoshop with some sharpening using Topaz PhotoAI for viewing on screen.
There is a lot of talk about “getting it right in camera” and that is crucial. It is however, only the first step to achieving the image you envisaged. The captured RAW file is in effected the exposed negative of the film days, it needs to be developed and printed to achieve the final result. It is possible to shoot JPG but to do that you are making choices and then abdicating control to the computer within the camera with this decisions then baled into the JPG file. Forthe best results I prefer to maintain as much control as possible for the duration of the process.
Photo with Nikon Z9 and Nikkor Z 800mm f6.3 VR S
Robert Heeps
20 Feb 2023What impressed me most was changing the boring, steel grey water background. I have lots of photos of whio on water like that and this is a great inspiration to go back and reprocess them.
tony
20 Feb 2023Thanks Robert. I find subtle differentiation of colour temp between BG and subject a useful adjustment to trial.