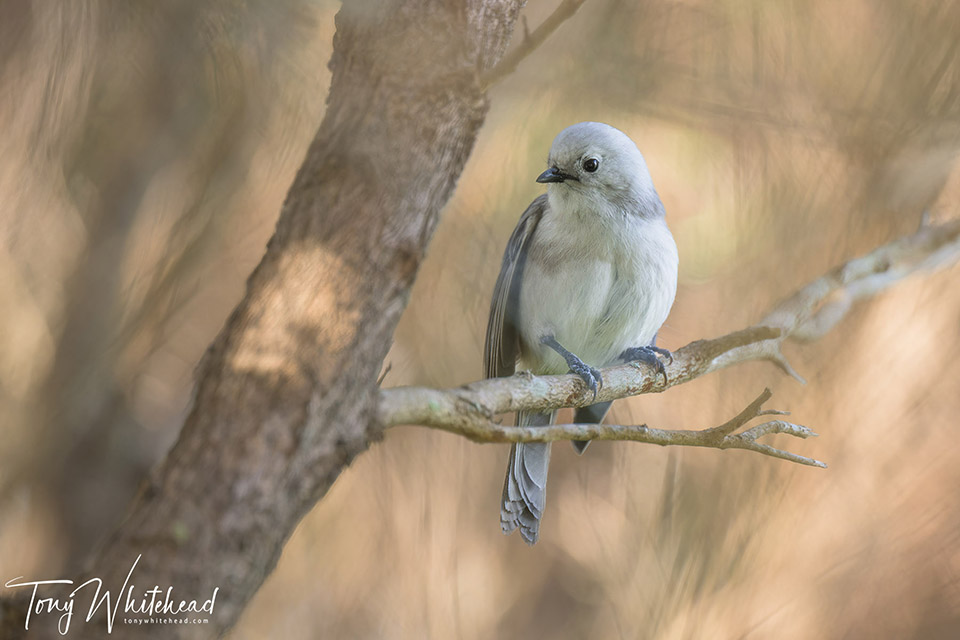
As I’ve written previously, 99% of my bird photography work is done in full manual mode. This is largely because my main passion is birds in flight so I want to be ready for that situation. Birds in flight means backgrounds that change as the bird moves and I don’t want my exposure to change due to changing luminance levels from the background and full manual is the only way to ensure this. Manual with AutoISO is an automatic exposure mode so doesn’t work for me in this situation.
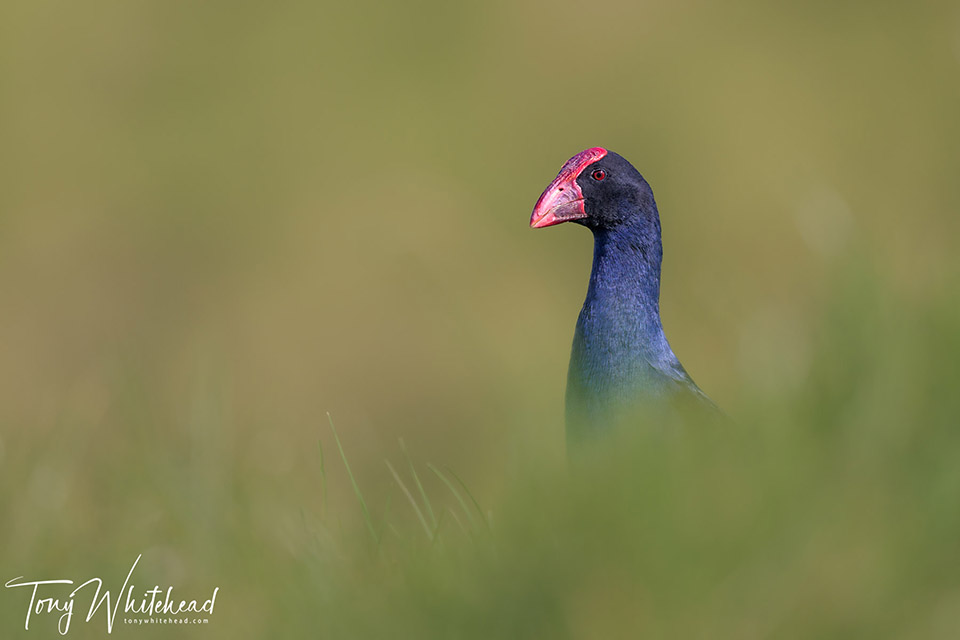
One situation where it does work though is when walking in the bush where light levels are low but changeable depending on canopy cover, and there is no real opportunity to track a bird in flight. If using full manual mode this can require regular adjustment of shutter speed and ISO to achieve the correct exposure. Using Aperture priority and AutoISO limits adjustment to a single single parameter – Exposure compensation – generally + exposure compensation if there is some bright light in the background causing underexposure of the subject. Exposure preview and live histogram in the EVF of a mirrorless camera is a big advantage in this situation.
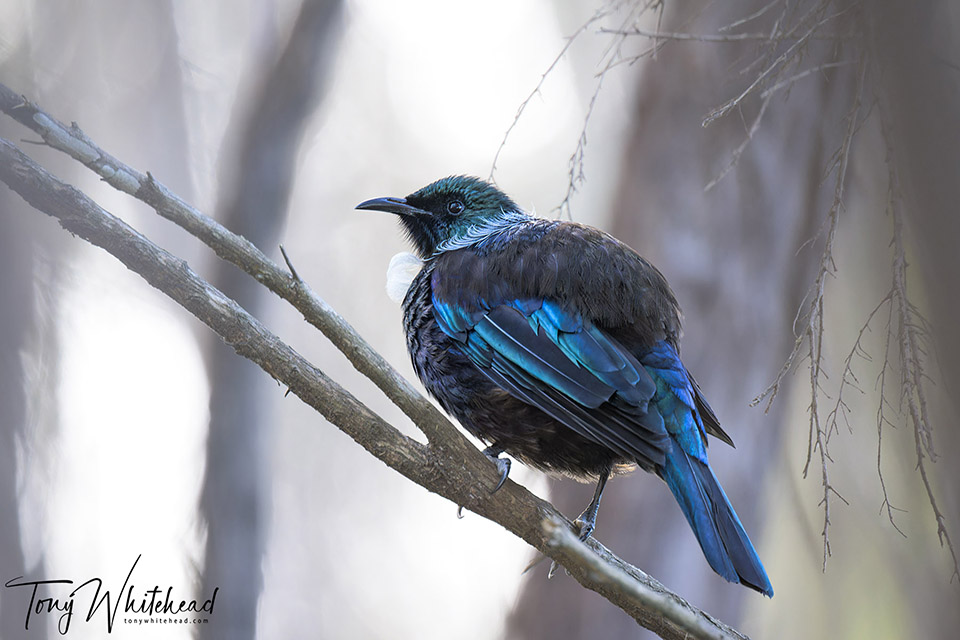
On a recent trip to Shakespeare Regional Park I found my usual manual exposure was perfect when in open light but changed over to Aperture priority with AutoISO in the bush sections as this made achieving correct exposure more simple.
Moving from the open areas where the Pūkeko was photographed into mānuka and then mixed bush, light levels were much lower needing much higher ISO values and slower shutter speeds. Light levels changed in different areas depending on canopy thickness which was quite variable. The Pōpokatea/Whitehead at the top of the post was in thick mānuka with little light whilst this next one was part of the same flock just across the path and being on the edge of the bush, in much more light. Aperture priority and autoISO allowed a quick adjustment of exposure compensation only to accommodate the different background luminosity.
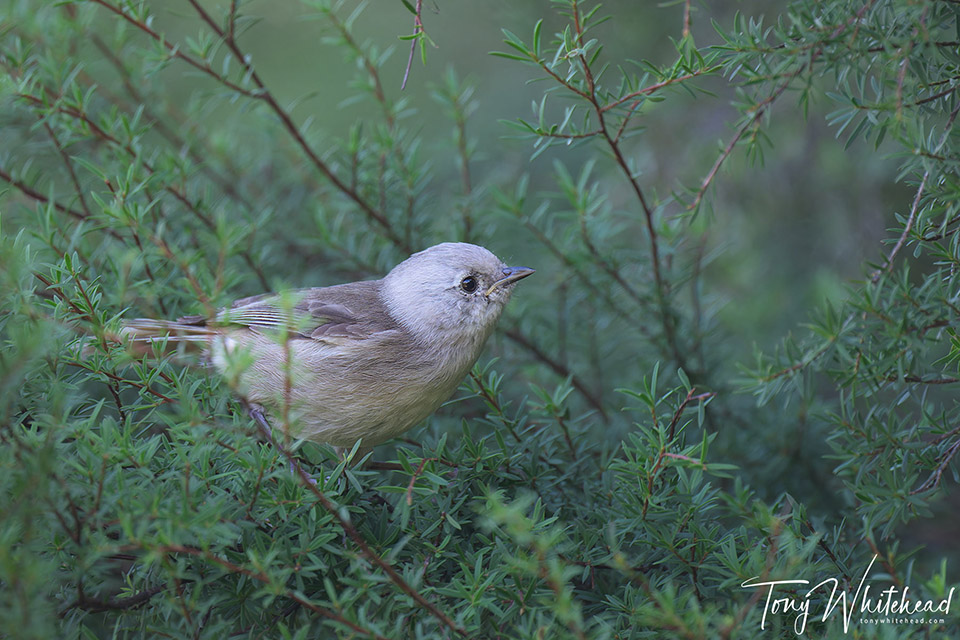
There is often debate as to the “right way” to do things. In some circles any automatic mode is looked down on and advice can be given to “move on up to full manual exposure” as though that’s what “real photographers” use. Others will say that Aperture priority is all you need and juggling aperture, shutter speed and ISO just complicates things. This is true in many situations – I use aperture priority for most travel and street photography – but would feel hampered if using it for most bird photography.
There is no moving up to a better way of doing things – it’s all about using the best, most efficient setting for the job at hand. For me, for most bird photography situations, that is full manual mode, but in bush scenarios, aperture priority and autoISO can be better.
Photos with Nikon Z9 and Nikkor Z 800mm f6.3 VR S
Hayden Nettleton
8 Oct 2023Nice photos Tony.
I find shutter priority with auto iso very useful and probably use it for about 80% of my bird photo’s, The camera will default to widest Aperture which is were I want it to be most of the time especially in the bush.